Modify Schema
-
Navigate to the site and login.
-
Select
Schemaon the side navigation to open theBrowse Schemapage.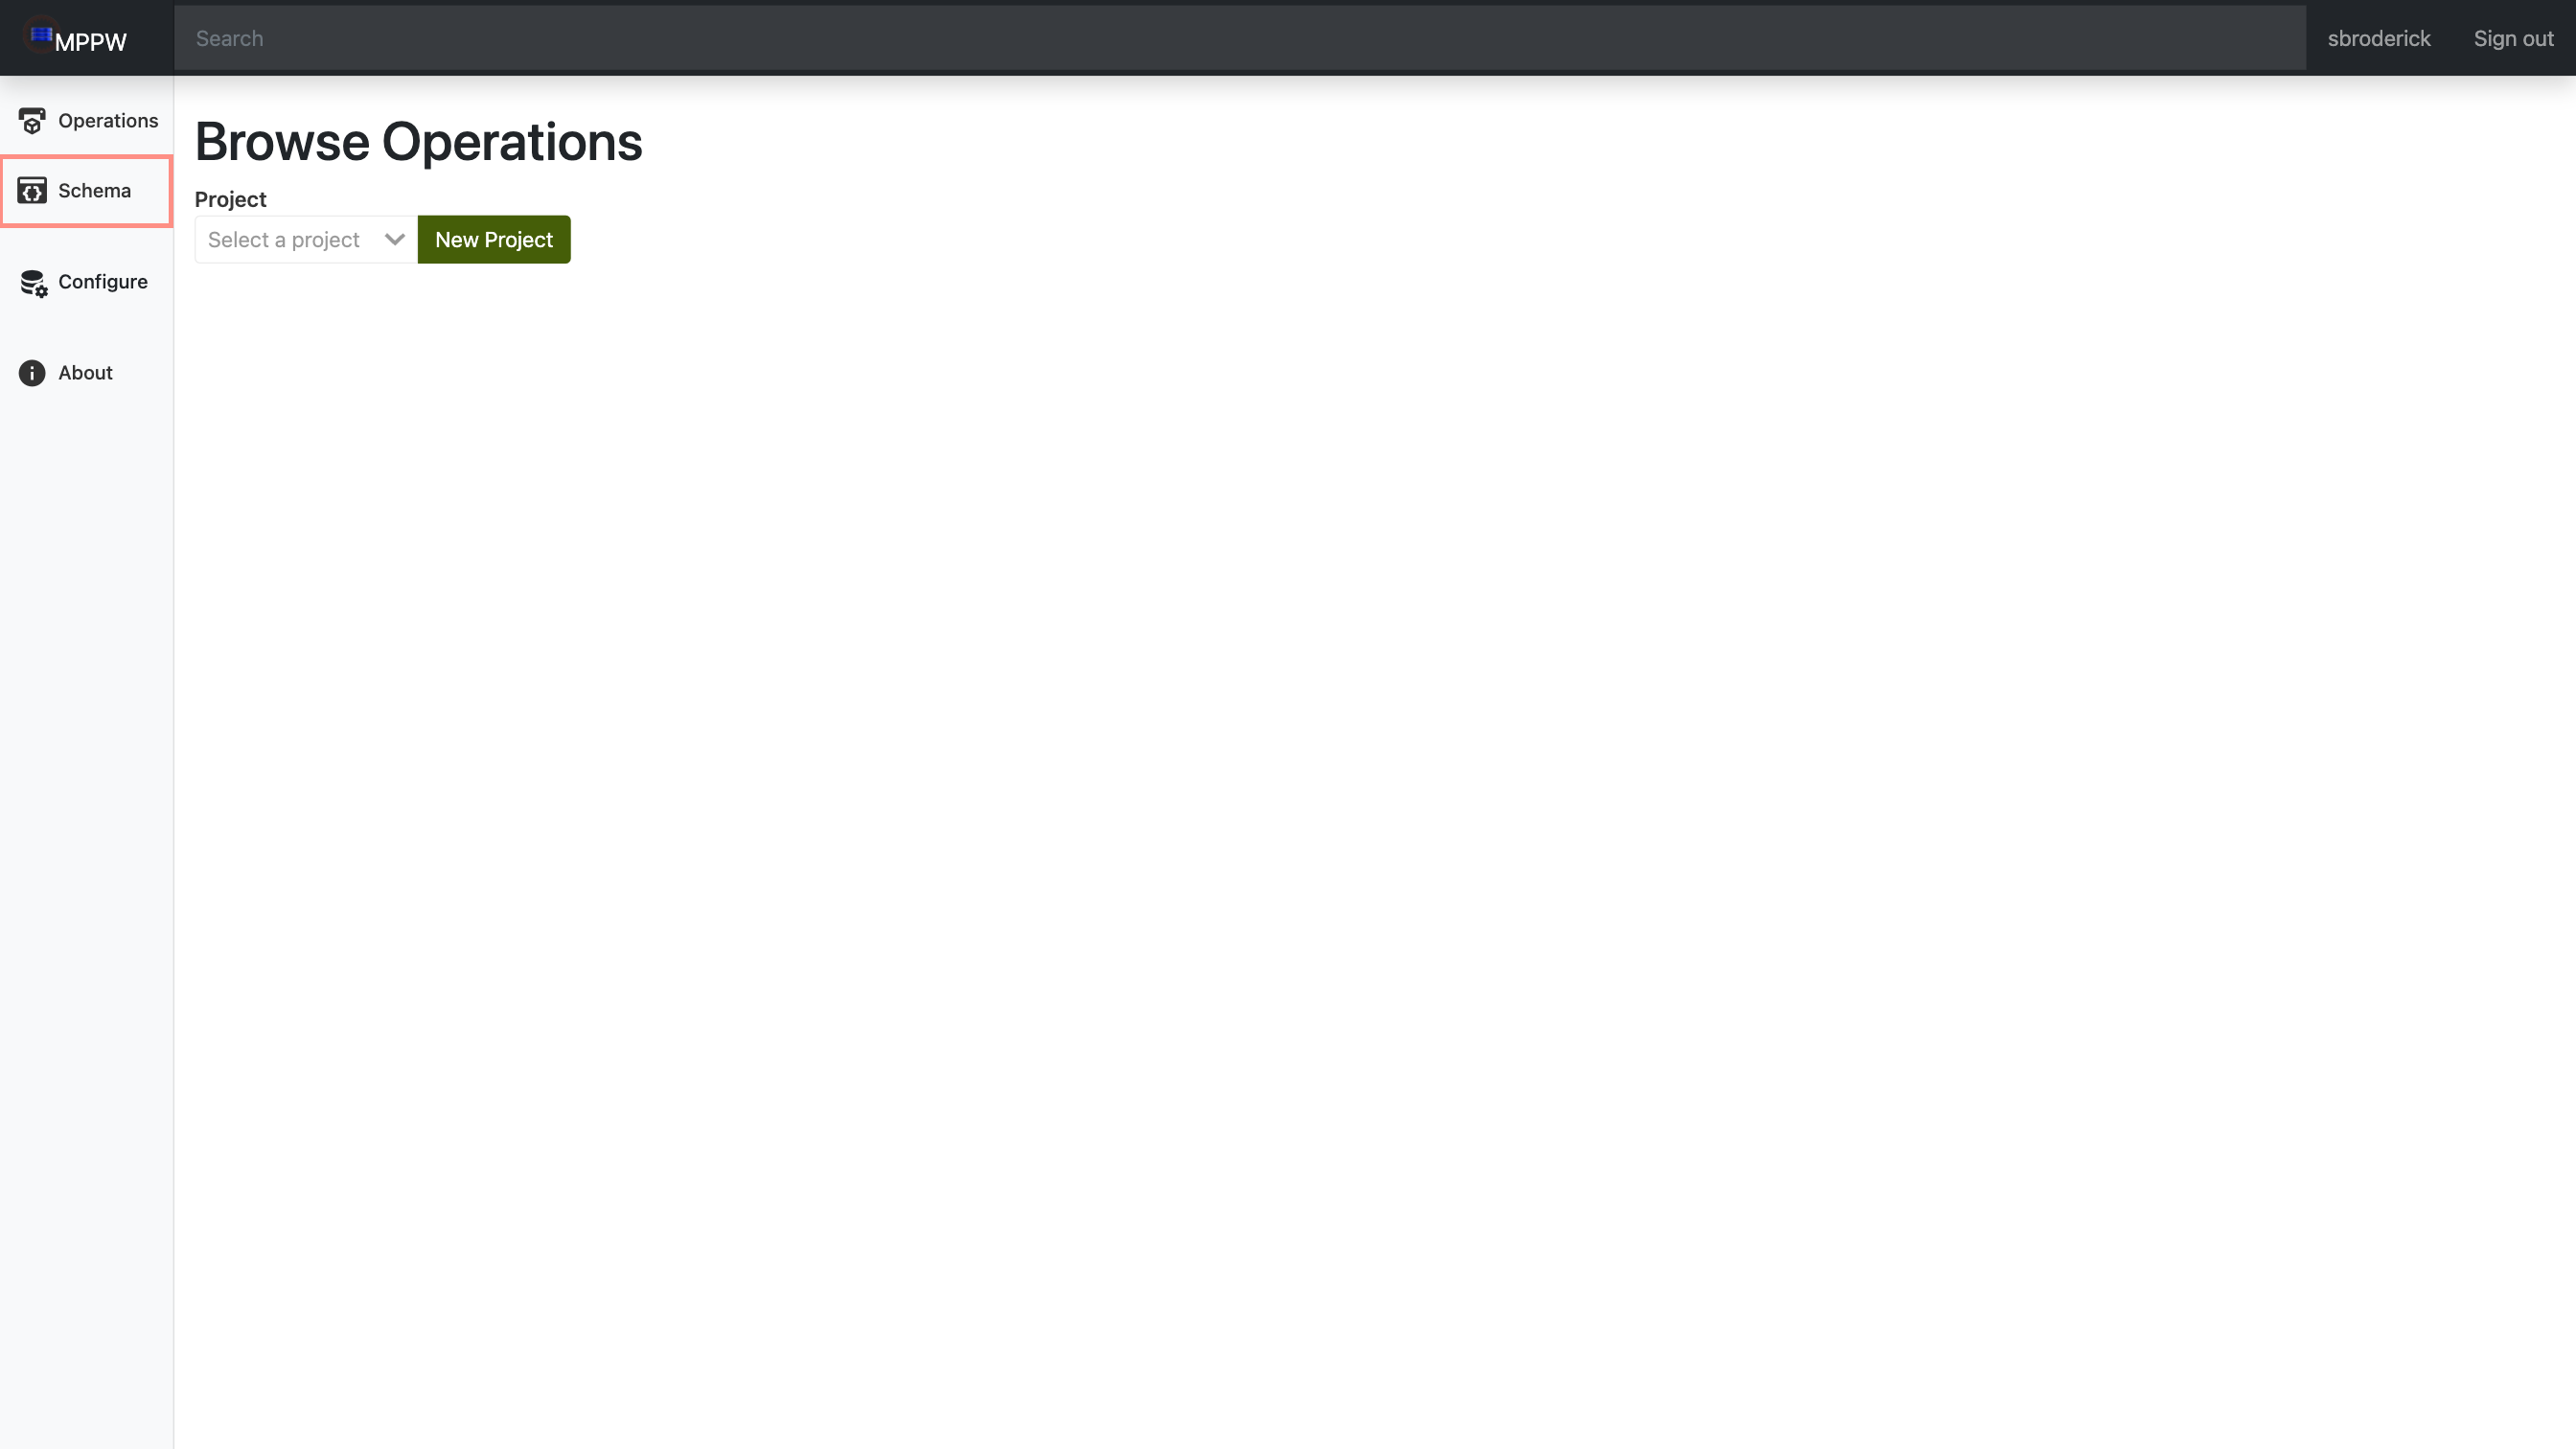
-
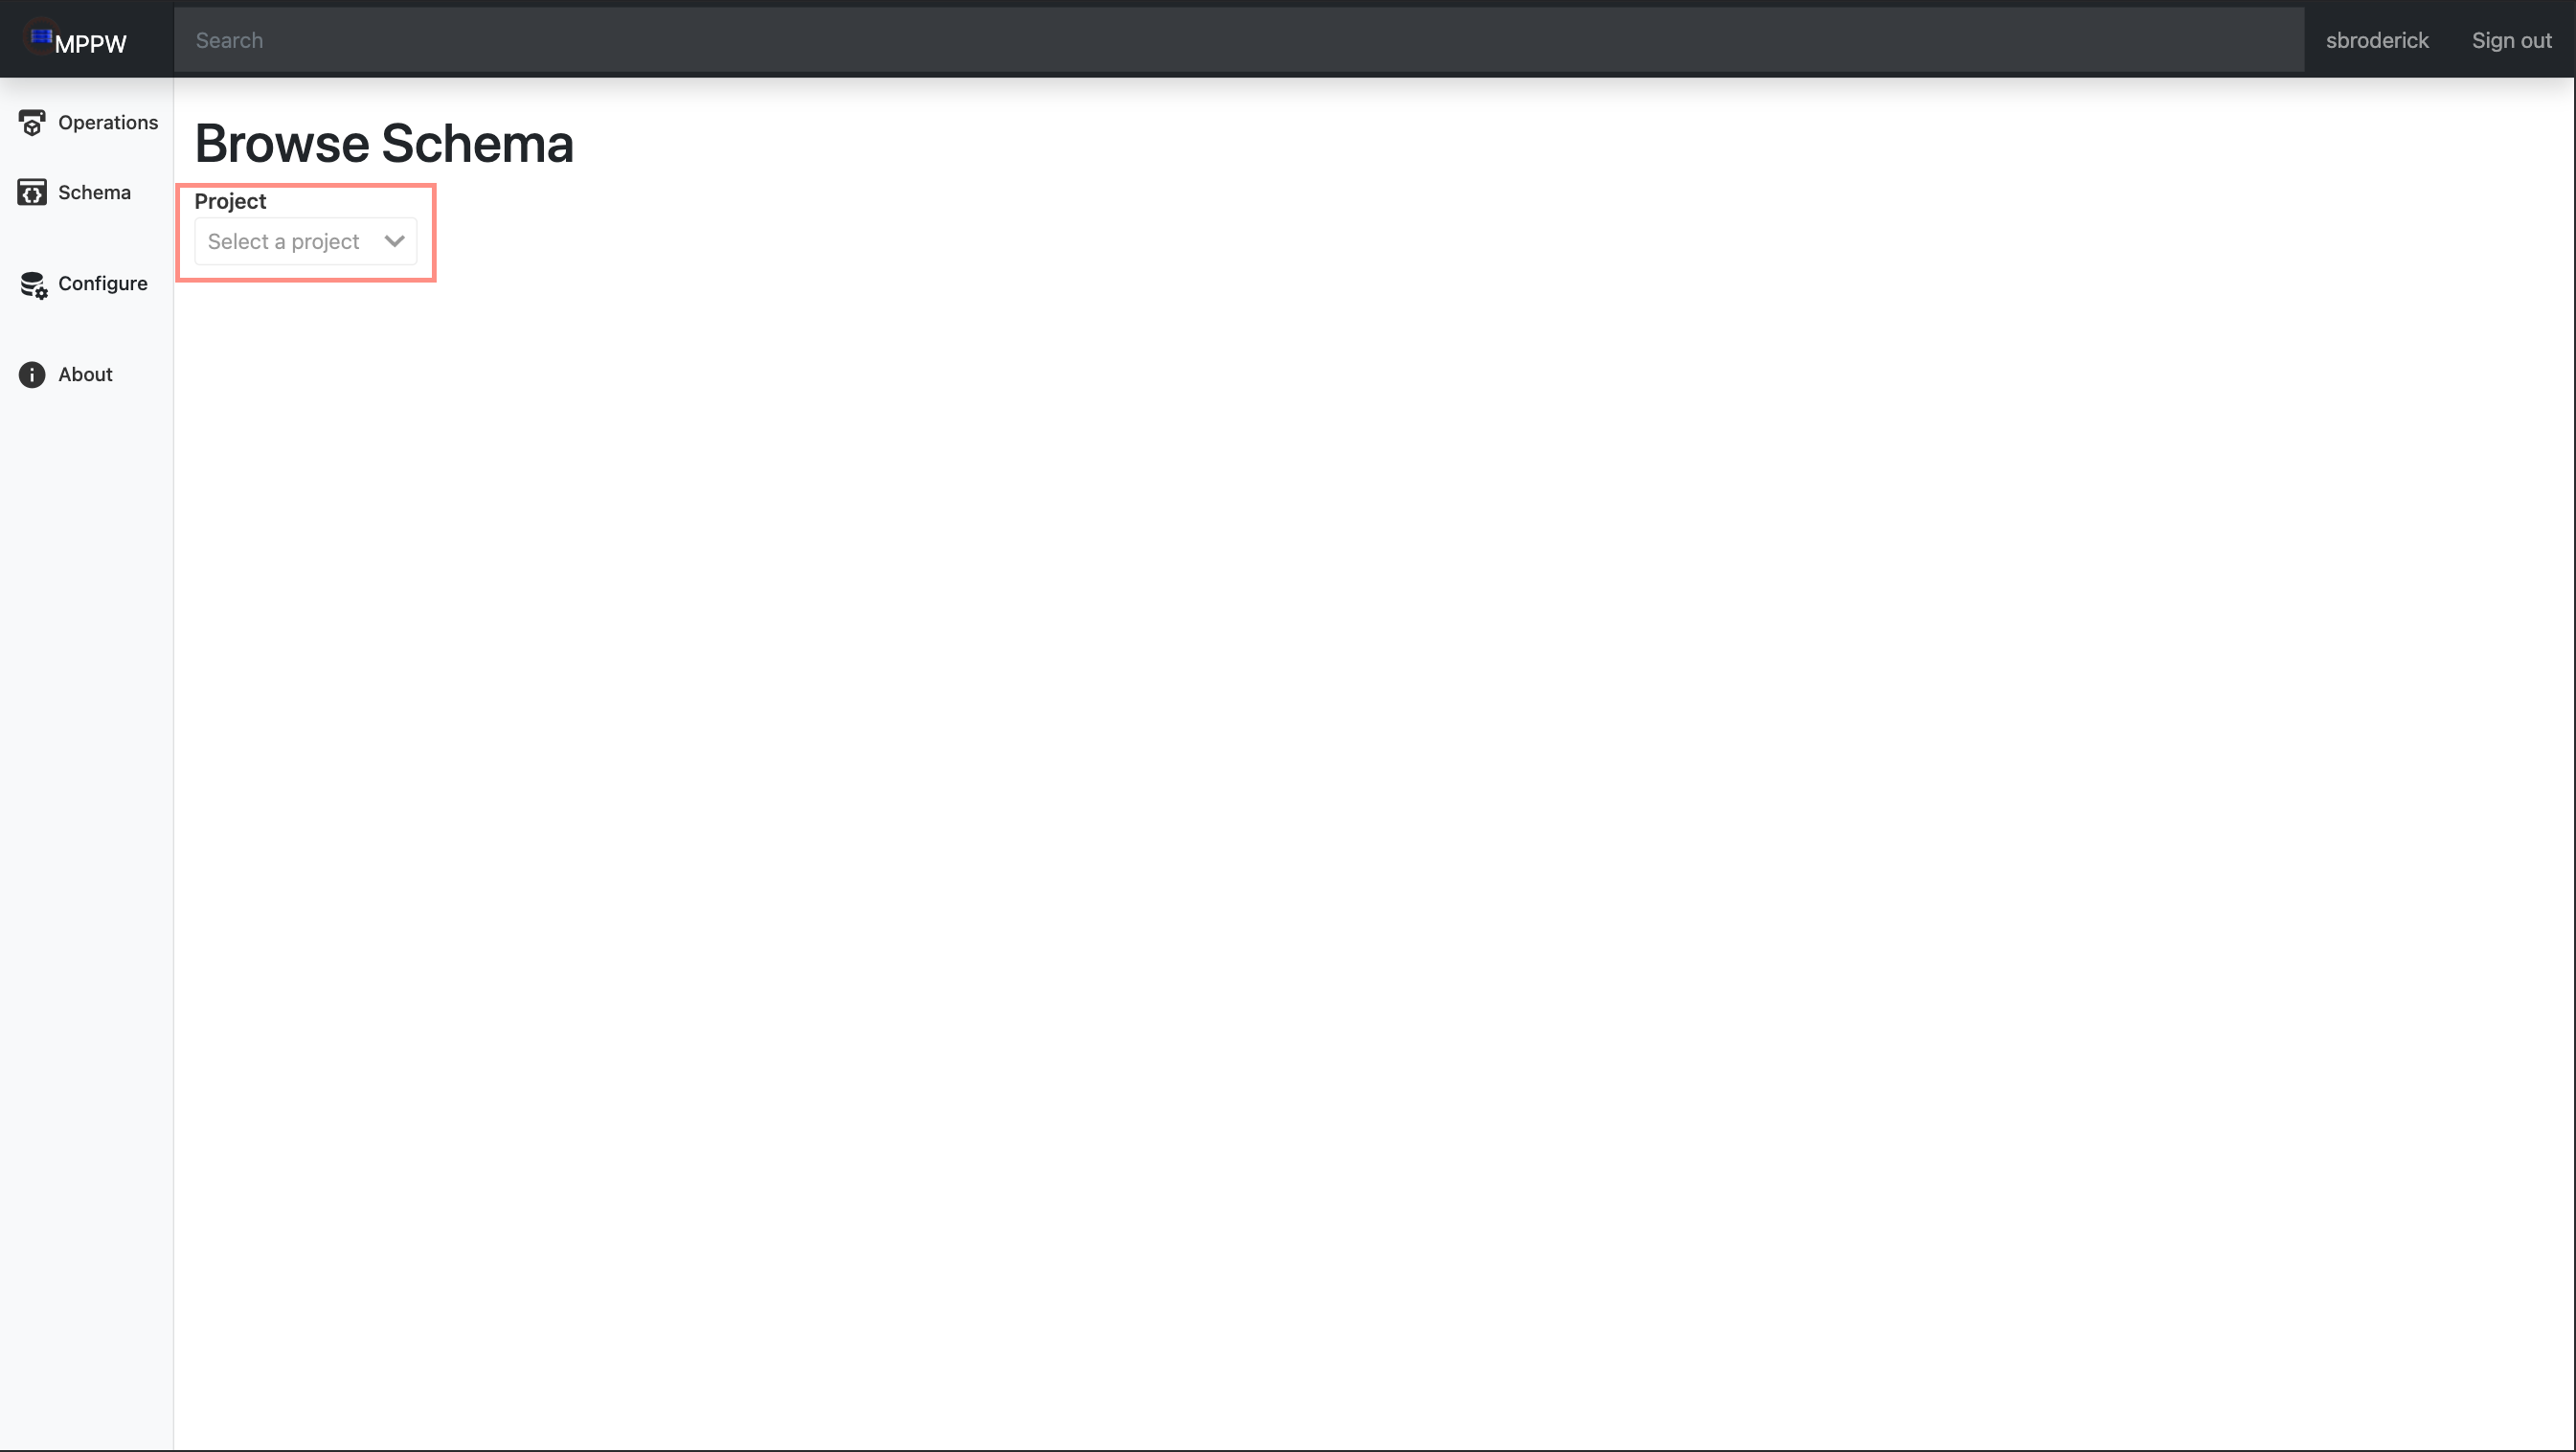
Select the your project from the dropdown.
Create a new Schema
-
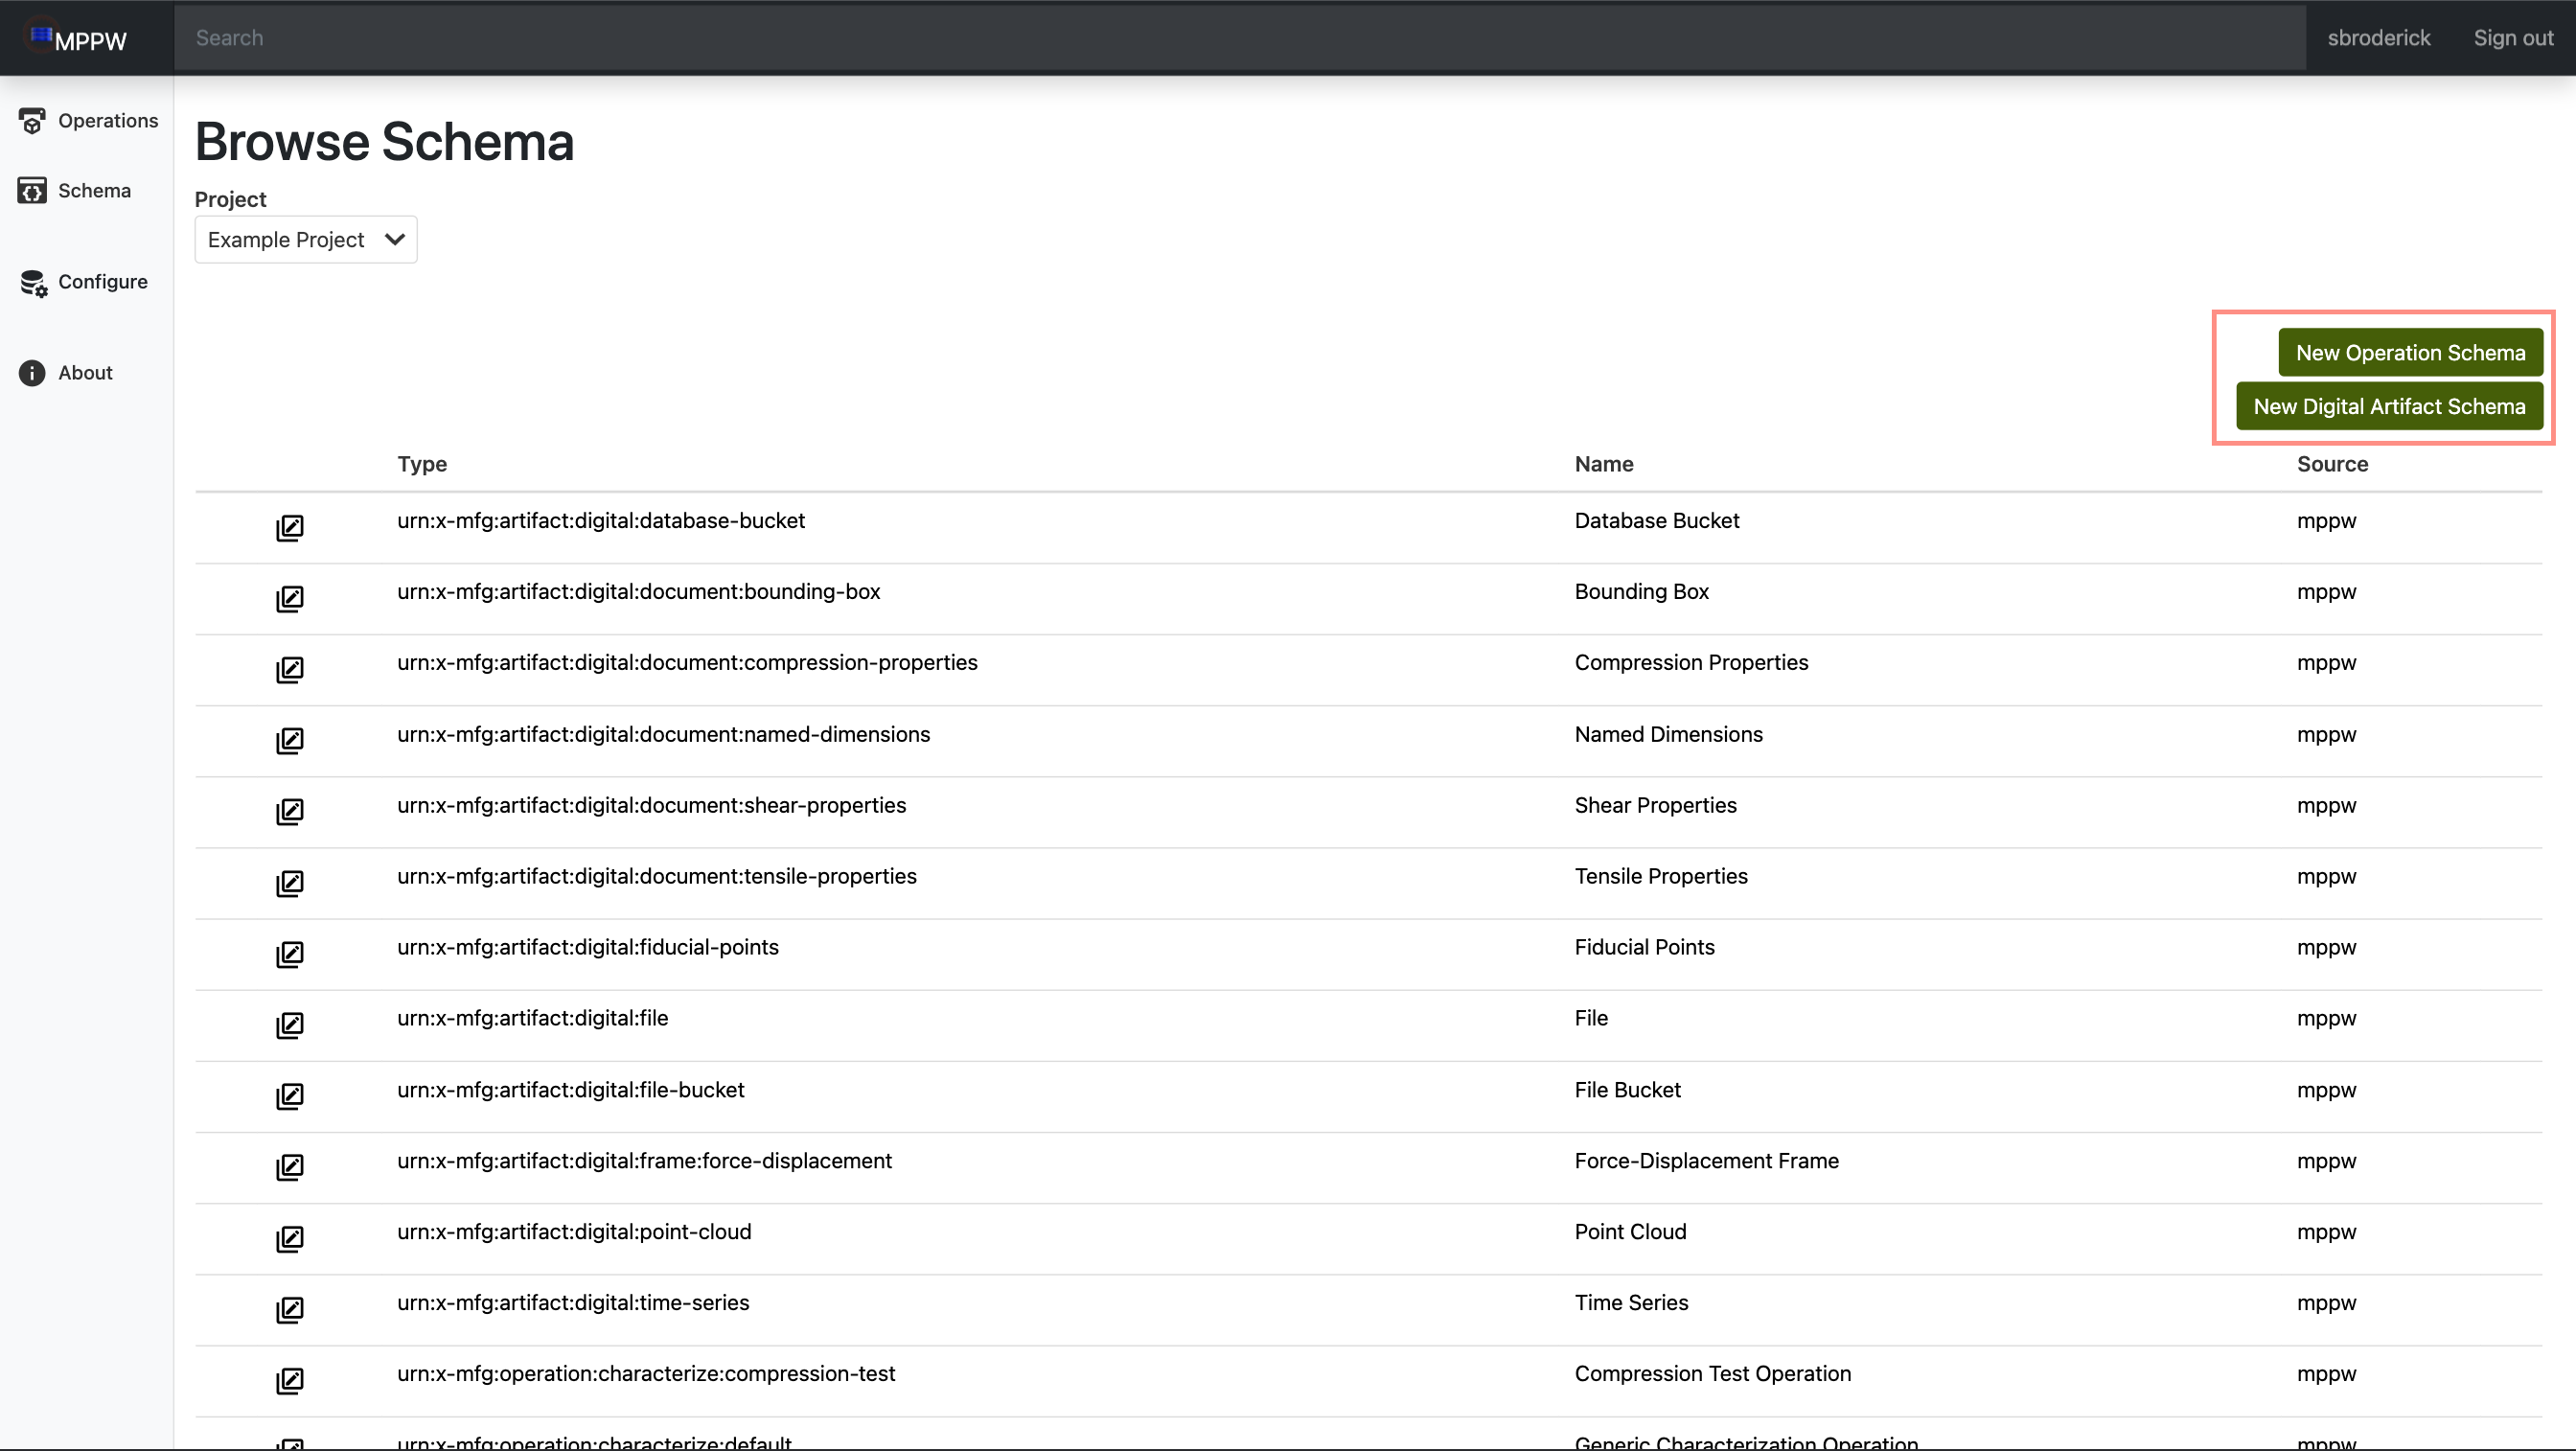
Click on either new operation or new artifact to open the schema creation prompt.
-
This will open the
Schema Creationprompt.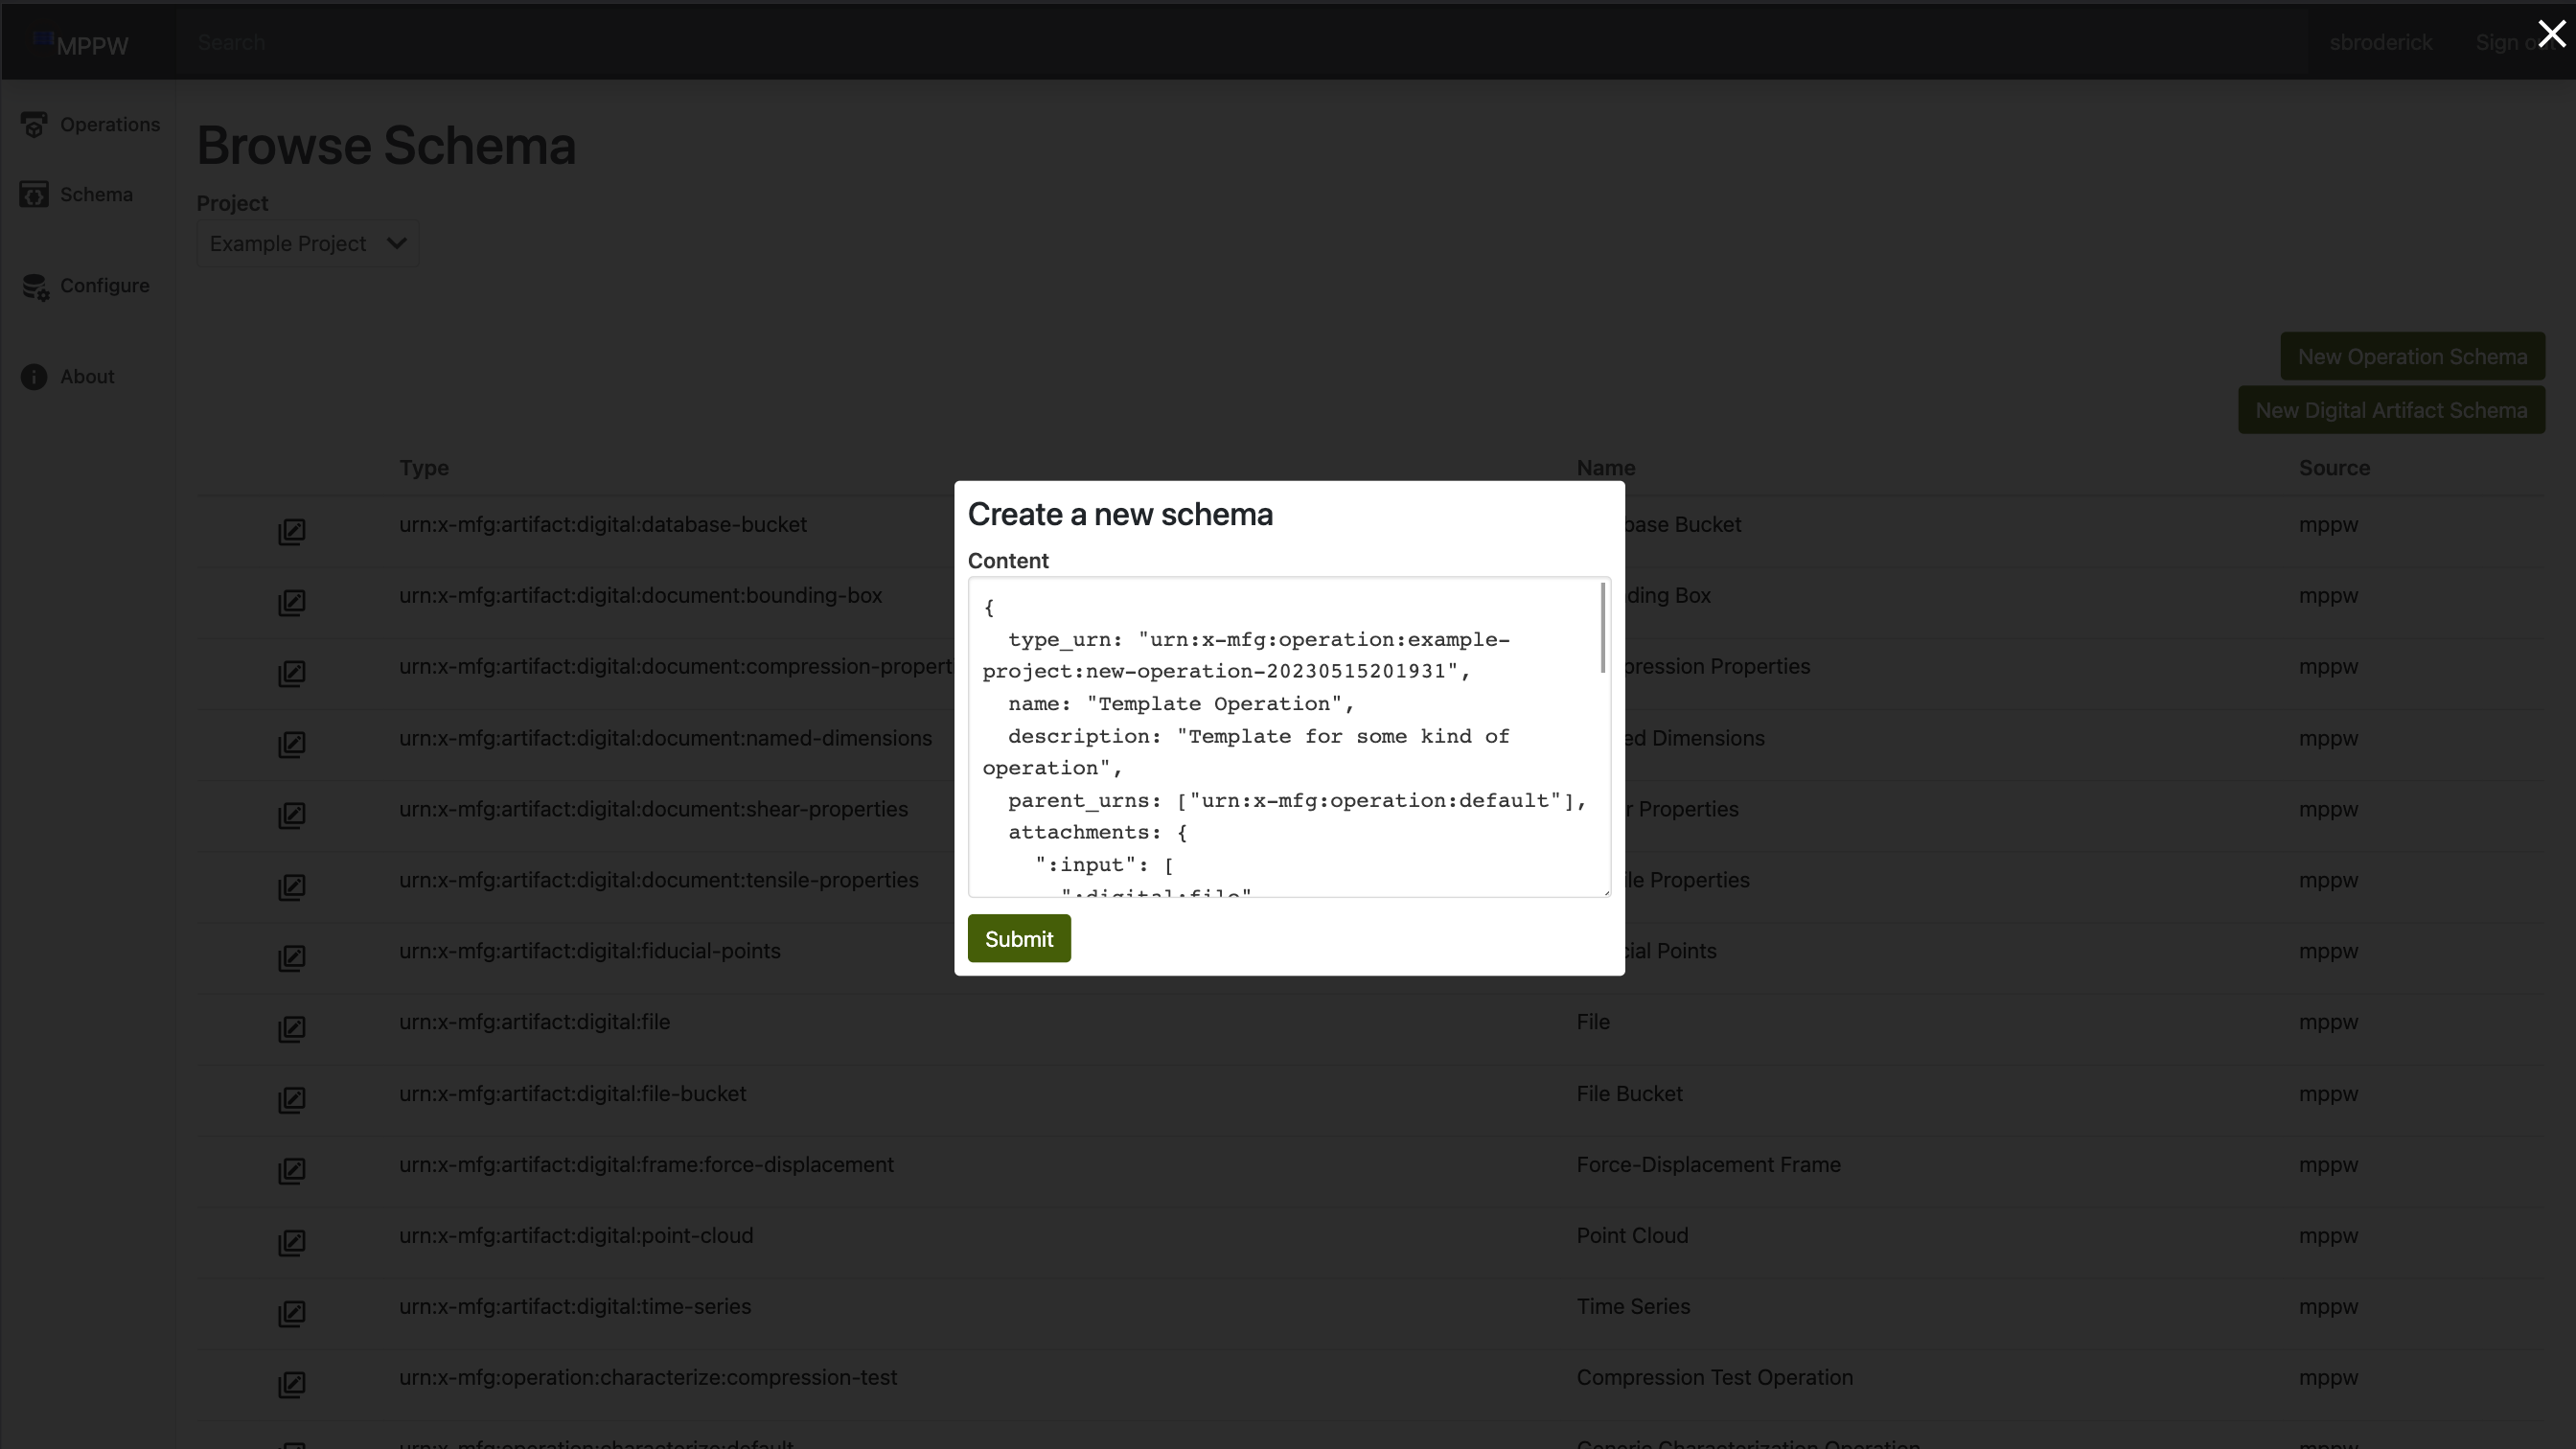
-
This area is a heavily customizable JSON object, but the following are a few general fields:
type_urn: This is the Uniform Resource Name for the type of schema being created. For example, a customized manufacturing operation for the project Example Project might be something like urn:x-mfg:operation:example-project:my-new-operationname: This is the more human readable name that will show up in most places. In the case of our example operation, it might be something like My New Operationdescription: This allows you to describe your new operation. For our example, our description could be A manufacturing operation that does xyz.parent_urns: These are schemas that your new schema builds off of, for our example, it would be urn:x-mfg:operation:default.-
attachments: This is another json object and is customizable. For ours, we have a input file and output text file:attachments: { ":input": [":digital:file"], ":output": [":digital:text"], } -
provenance: This field describes where our new schema falls in the current workflow. For our new operation, we want to take in all input artifacts and deliver output artifacts.provenance: { steps: [ { from_artifacts: [":input.*"], to_artifacts: [":output.*"], } ] }
Create a New Schema Using an Existing Template
-
This works nearly exactly like creating a new
schema, only the beginning is different. In order to do this, instead of using theNew Schemabuttons on the right, click on thecopybutton next to the schema you would like to use as the template (shown below).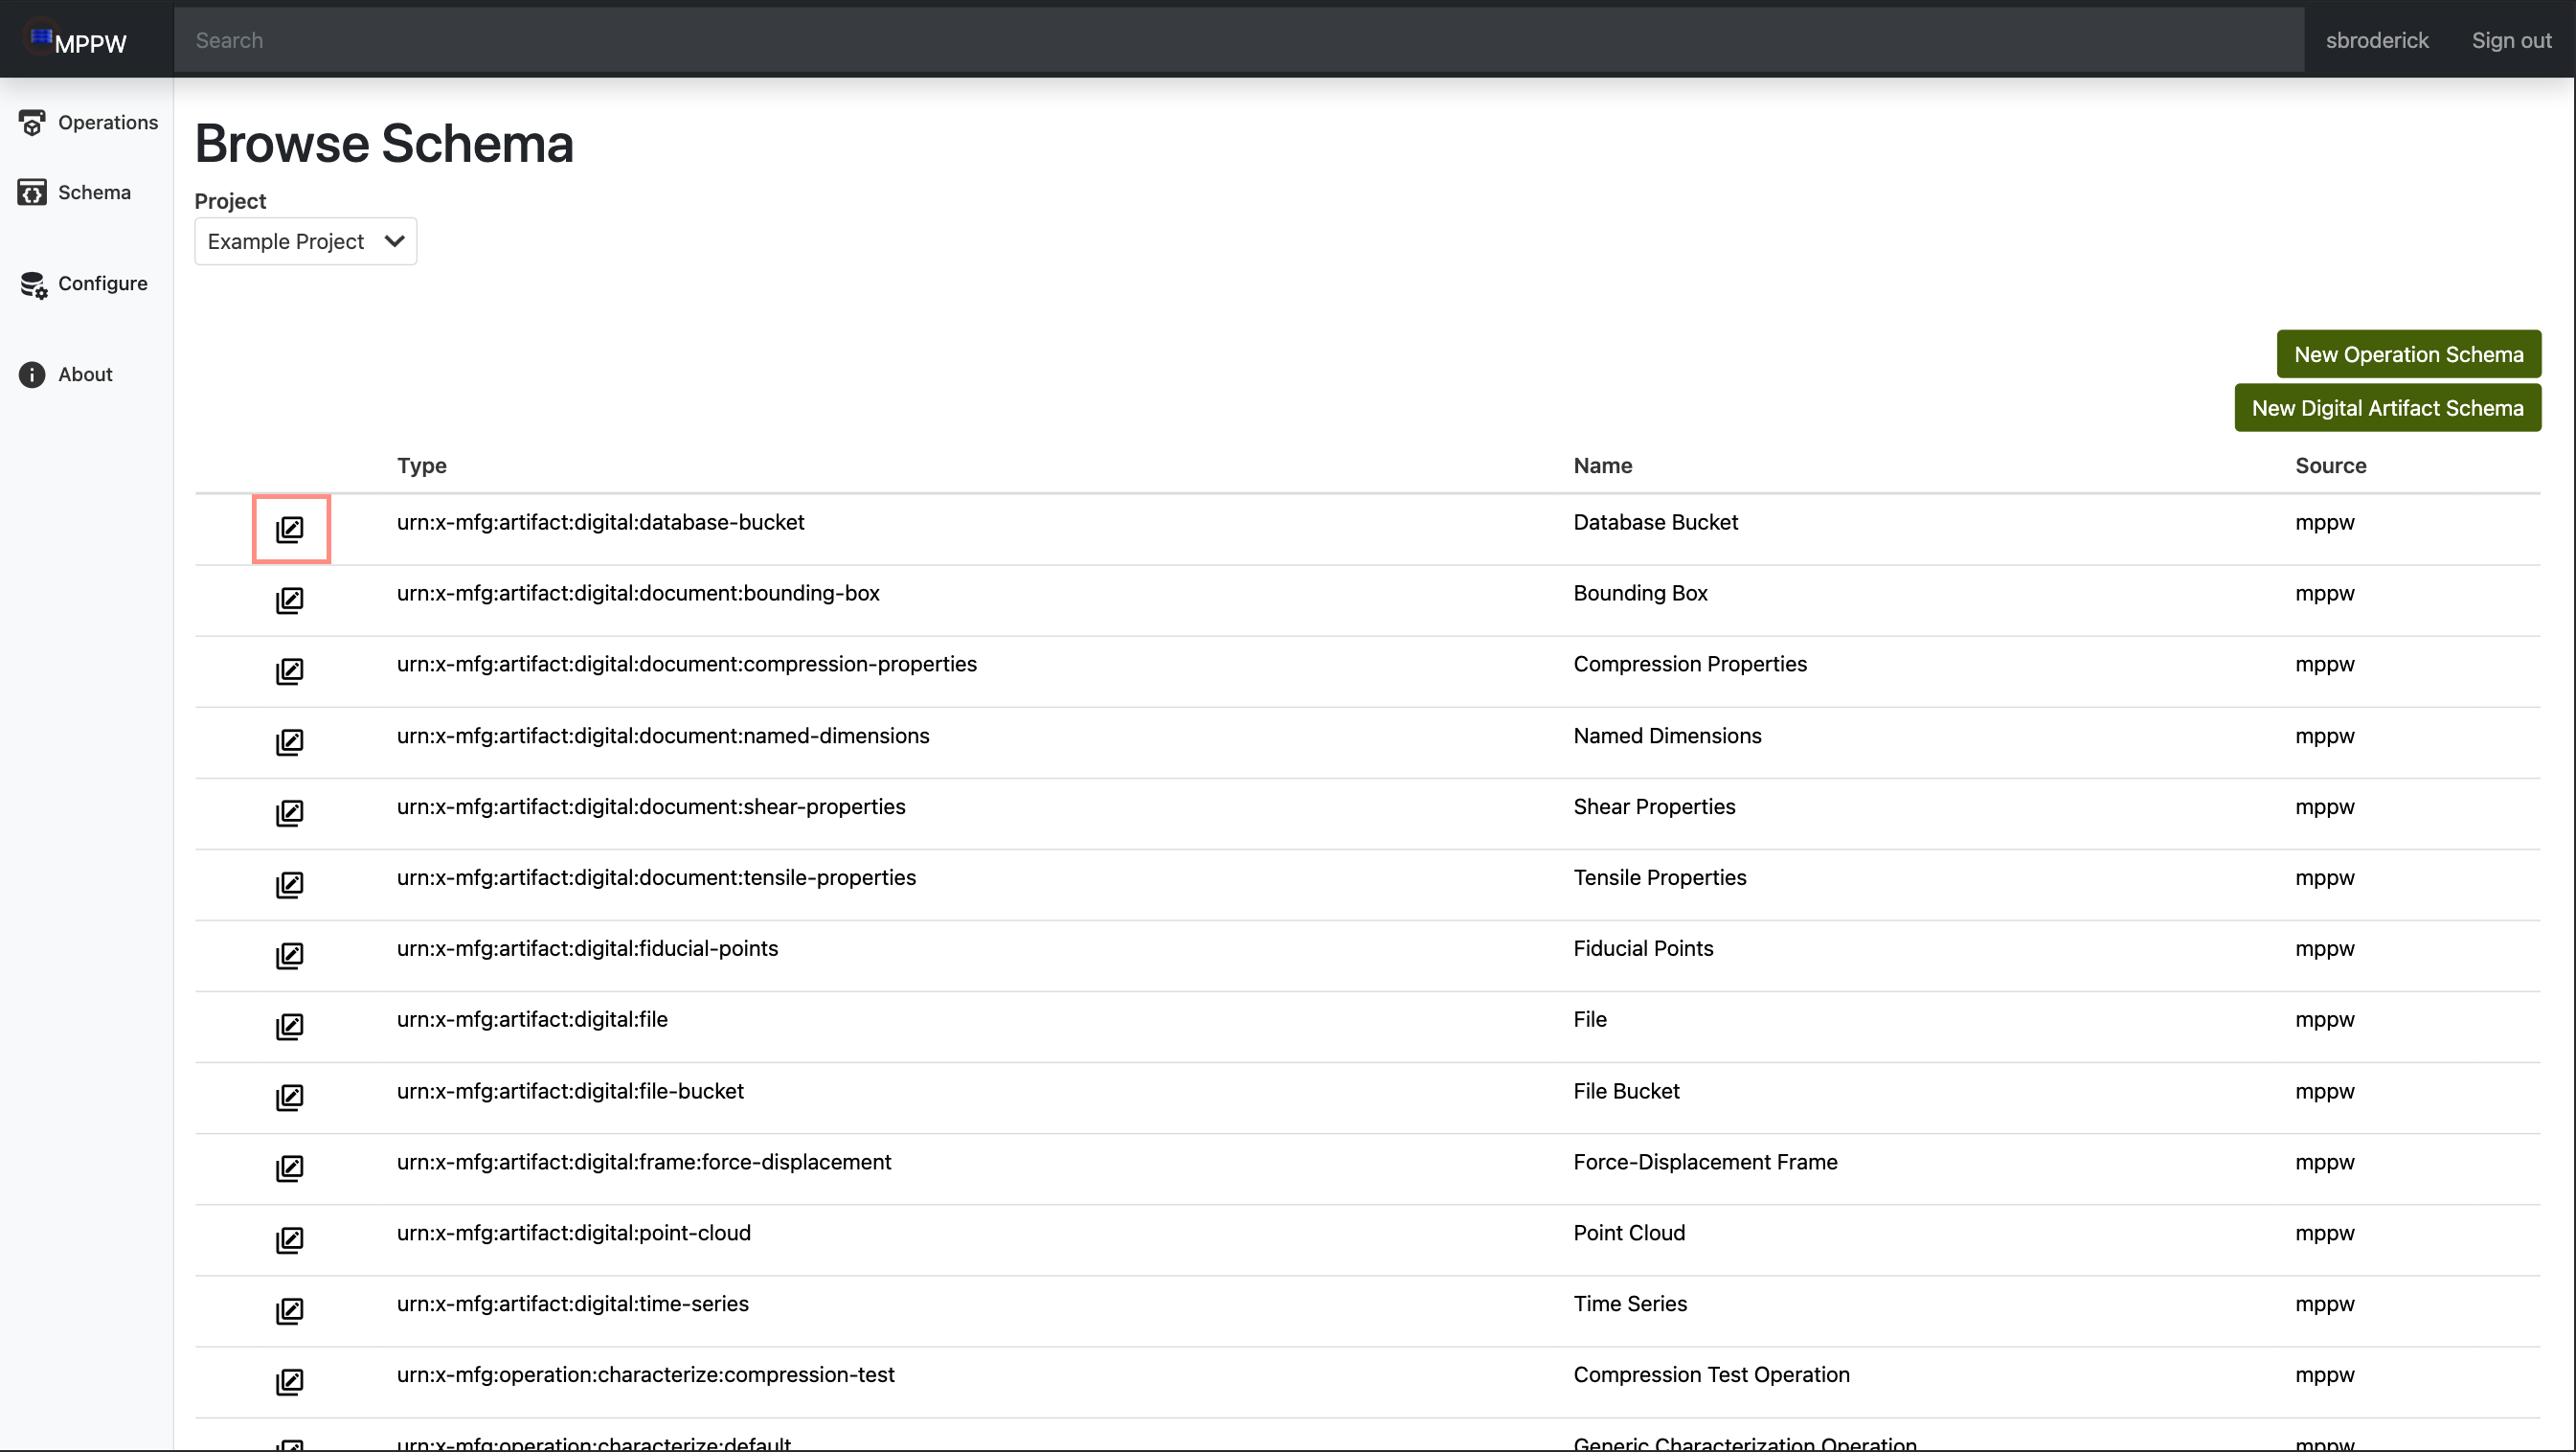
-
This opens the
Schema Creationprompt like before, but now it is populated with the template's schema. Form here you can edit it to your liking and then hitsubmit.
Modify Custom Schema
-
On custom schemas you've created, you'll find two extra buttons available. The left icon is
Edit Schemaand the right isDelete Schema. In order to modify your schema, click theEdit Schemabutton. This will open the same prompt allowing you to edit modify the schema.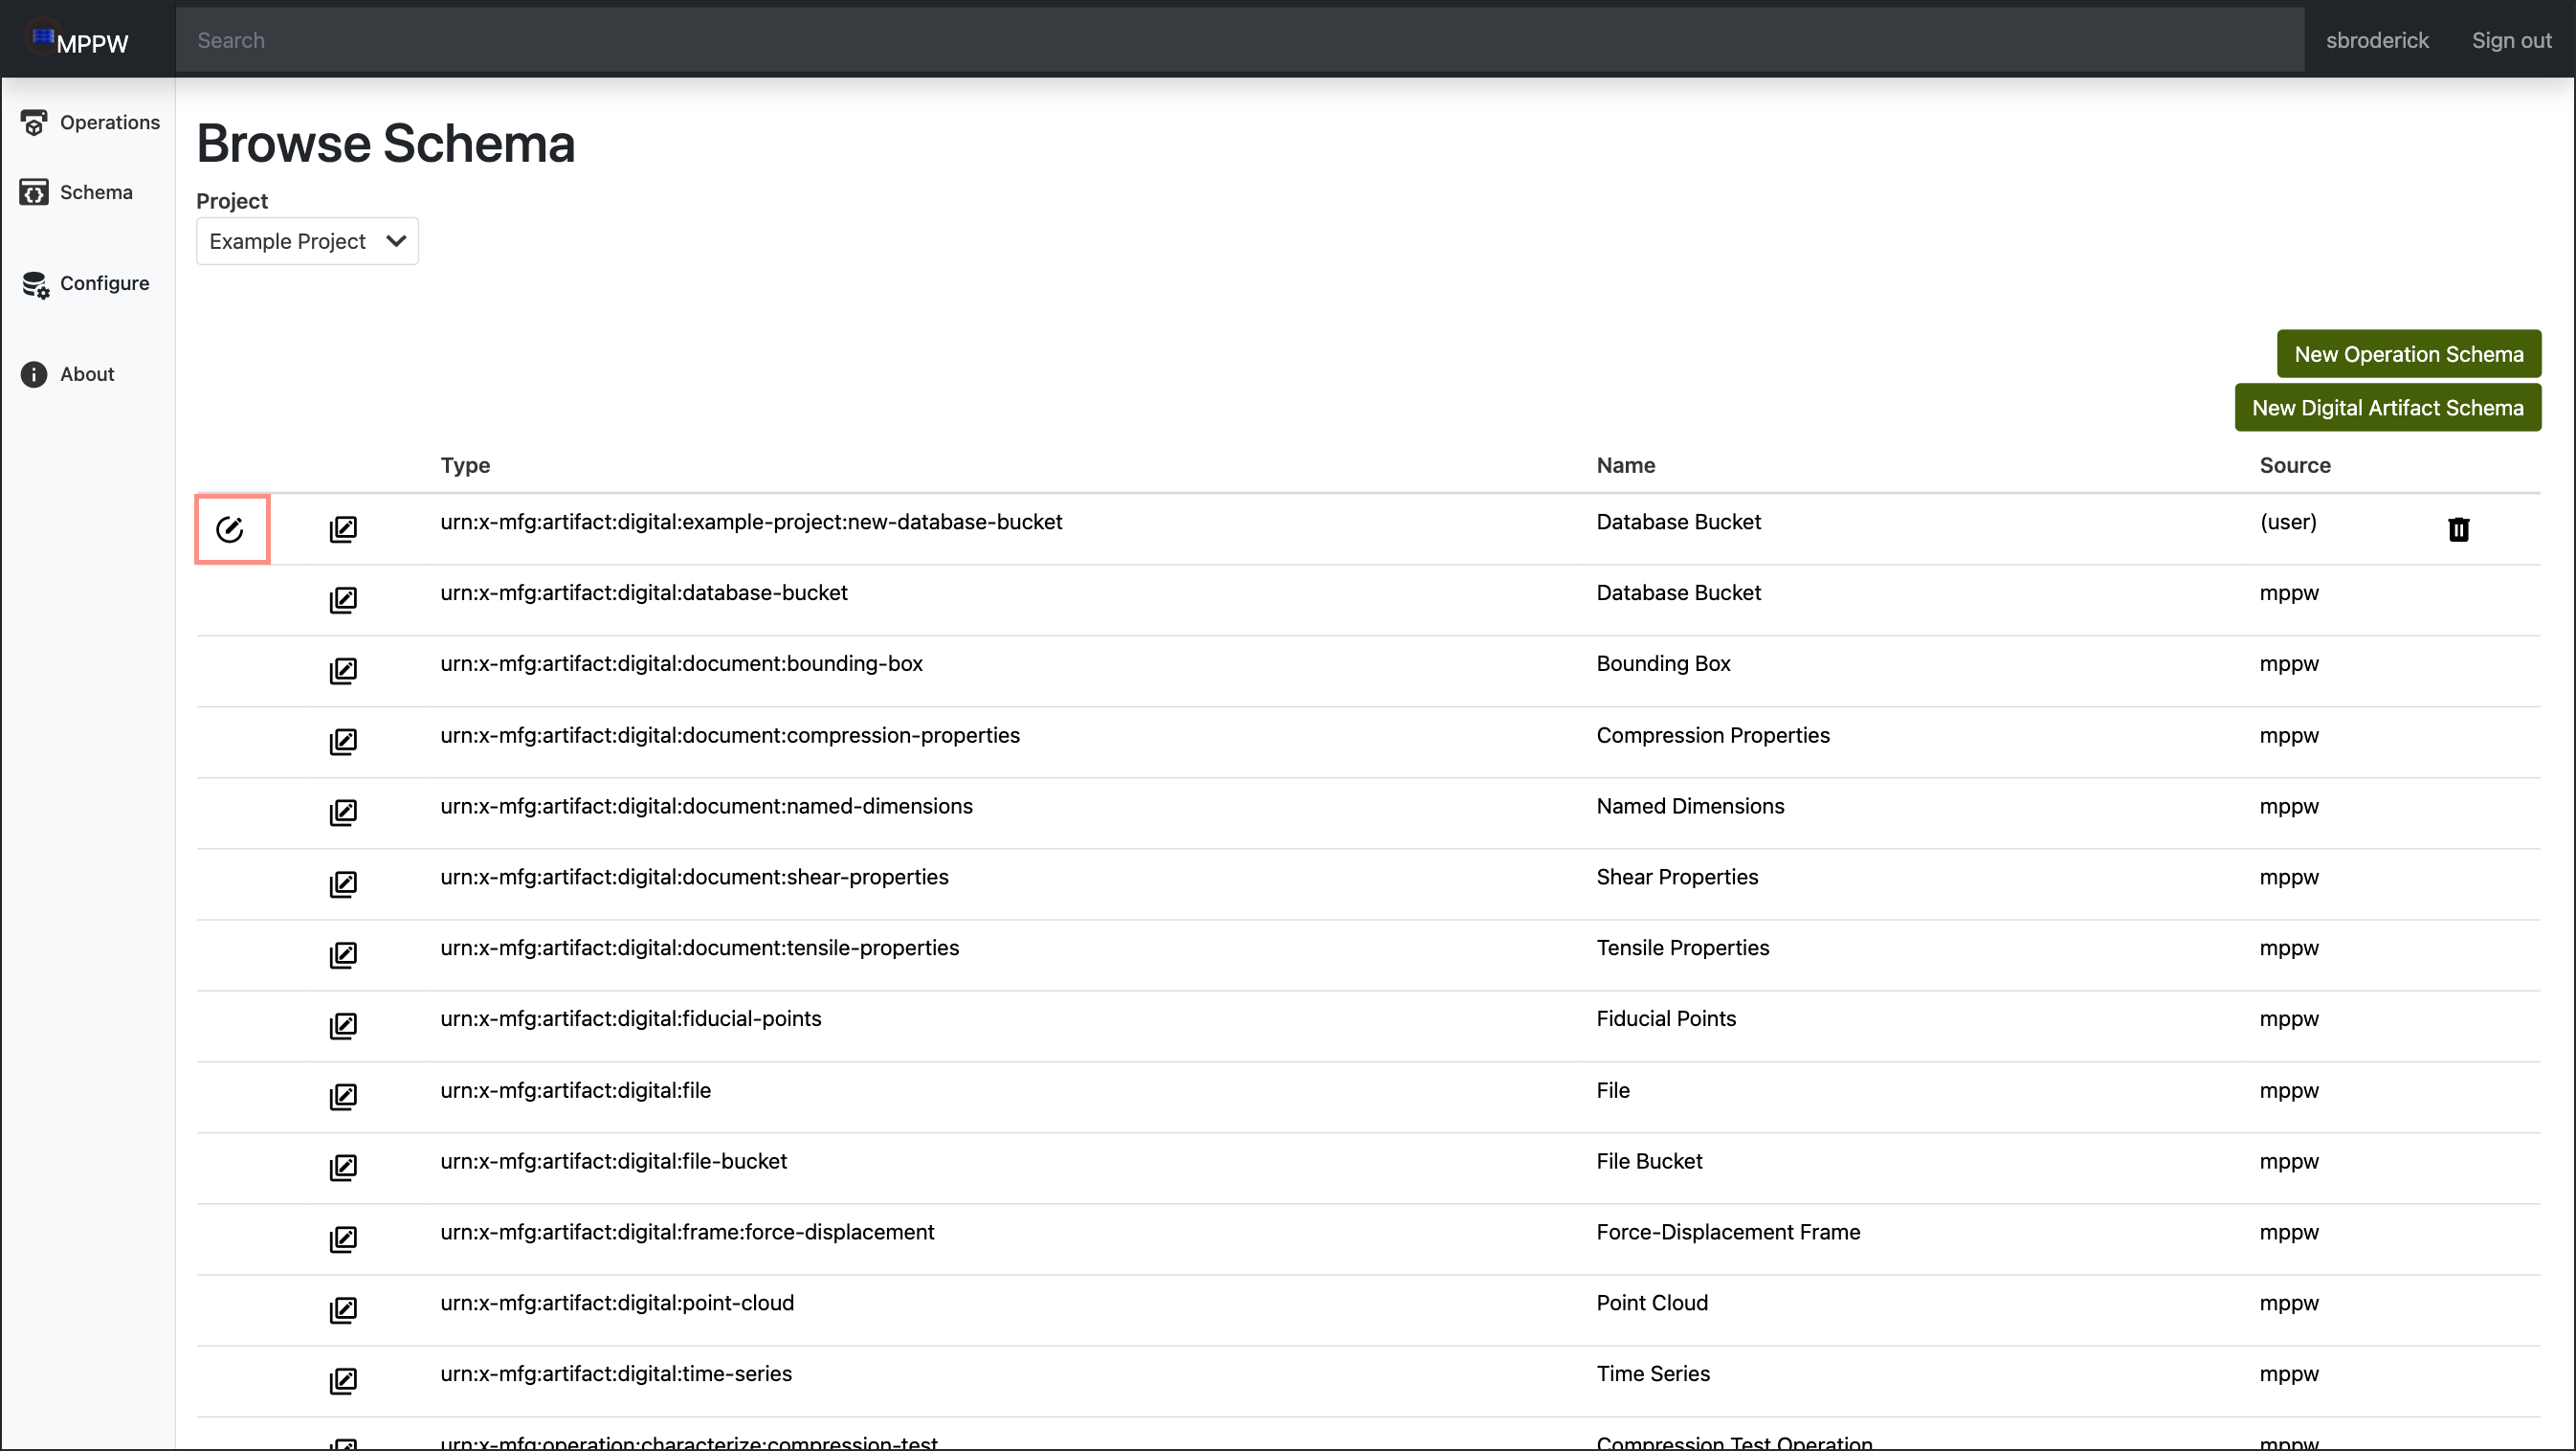
-
Lastly, to delete one of your cutom operations, click on the
Delete Schemabutton on the right.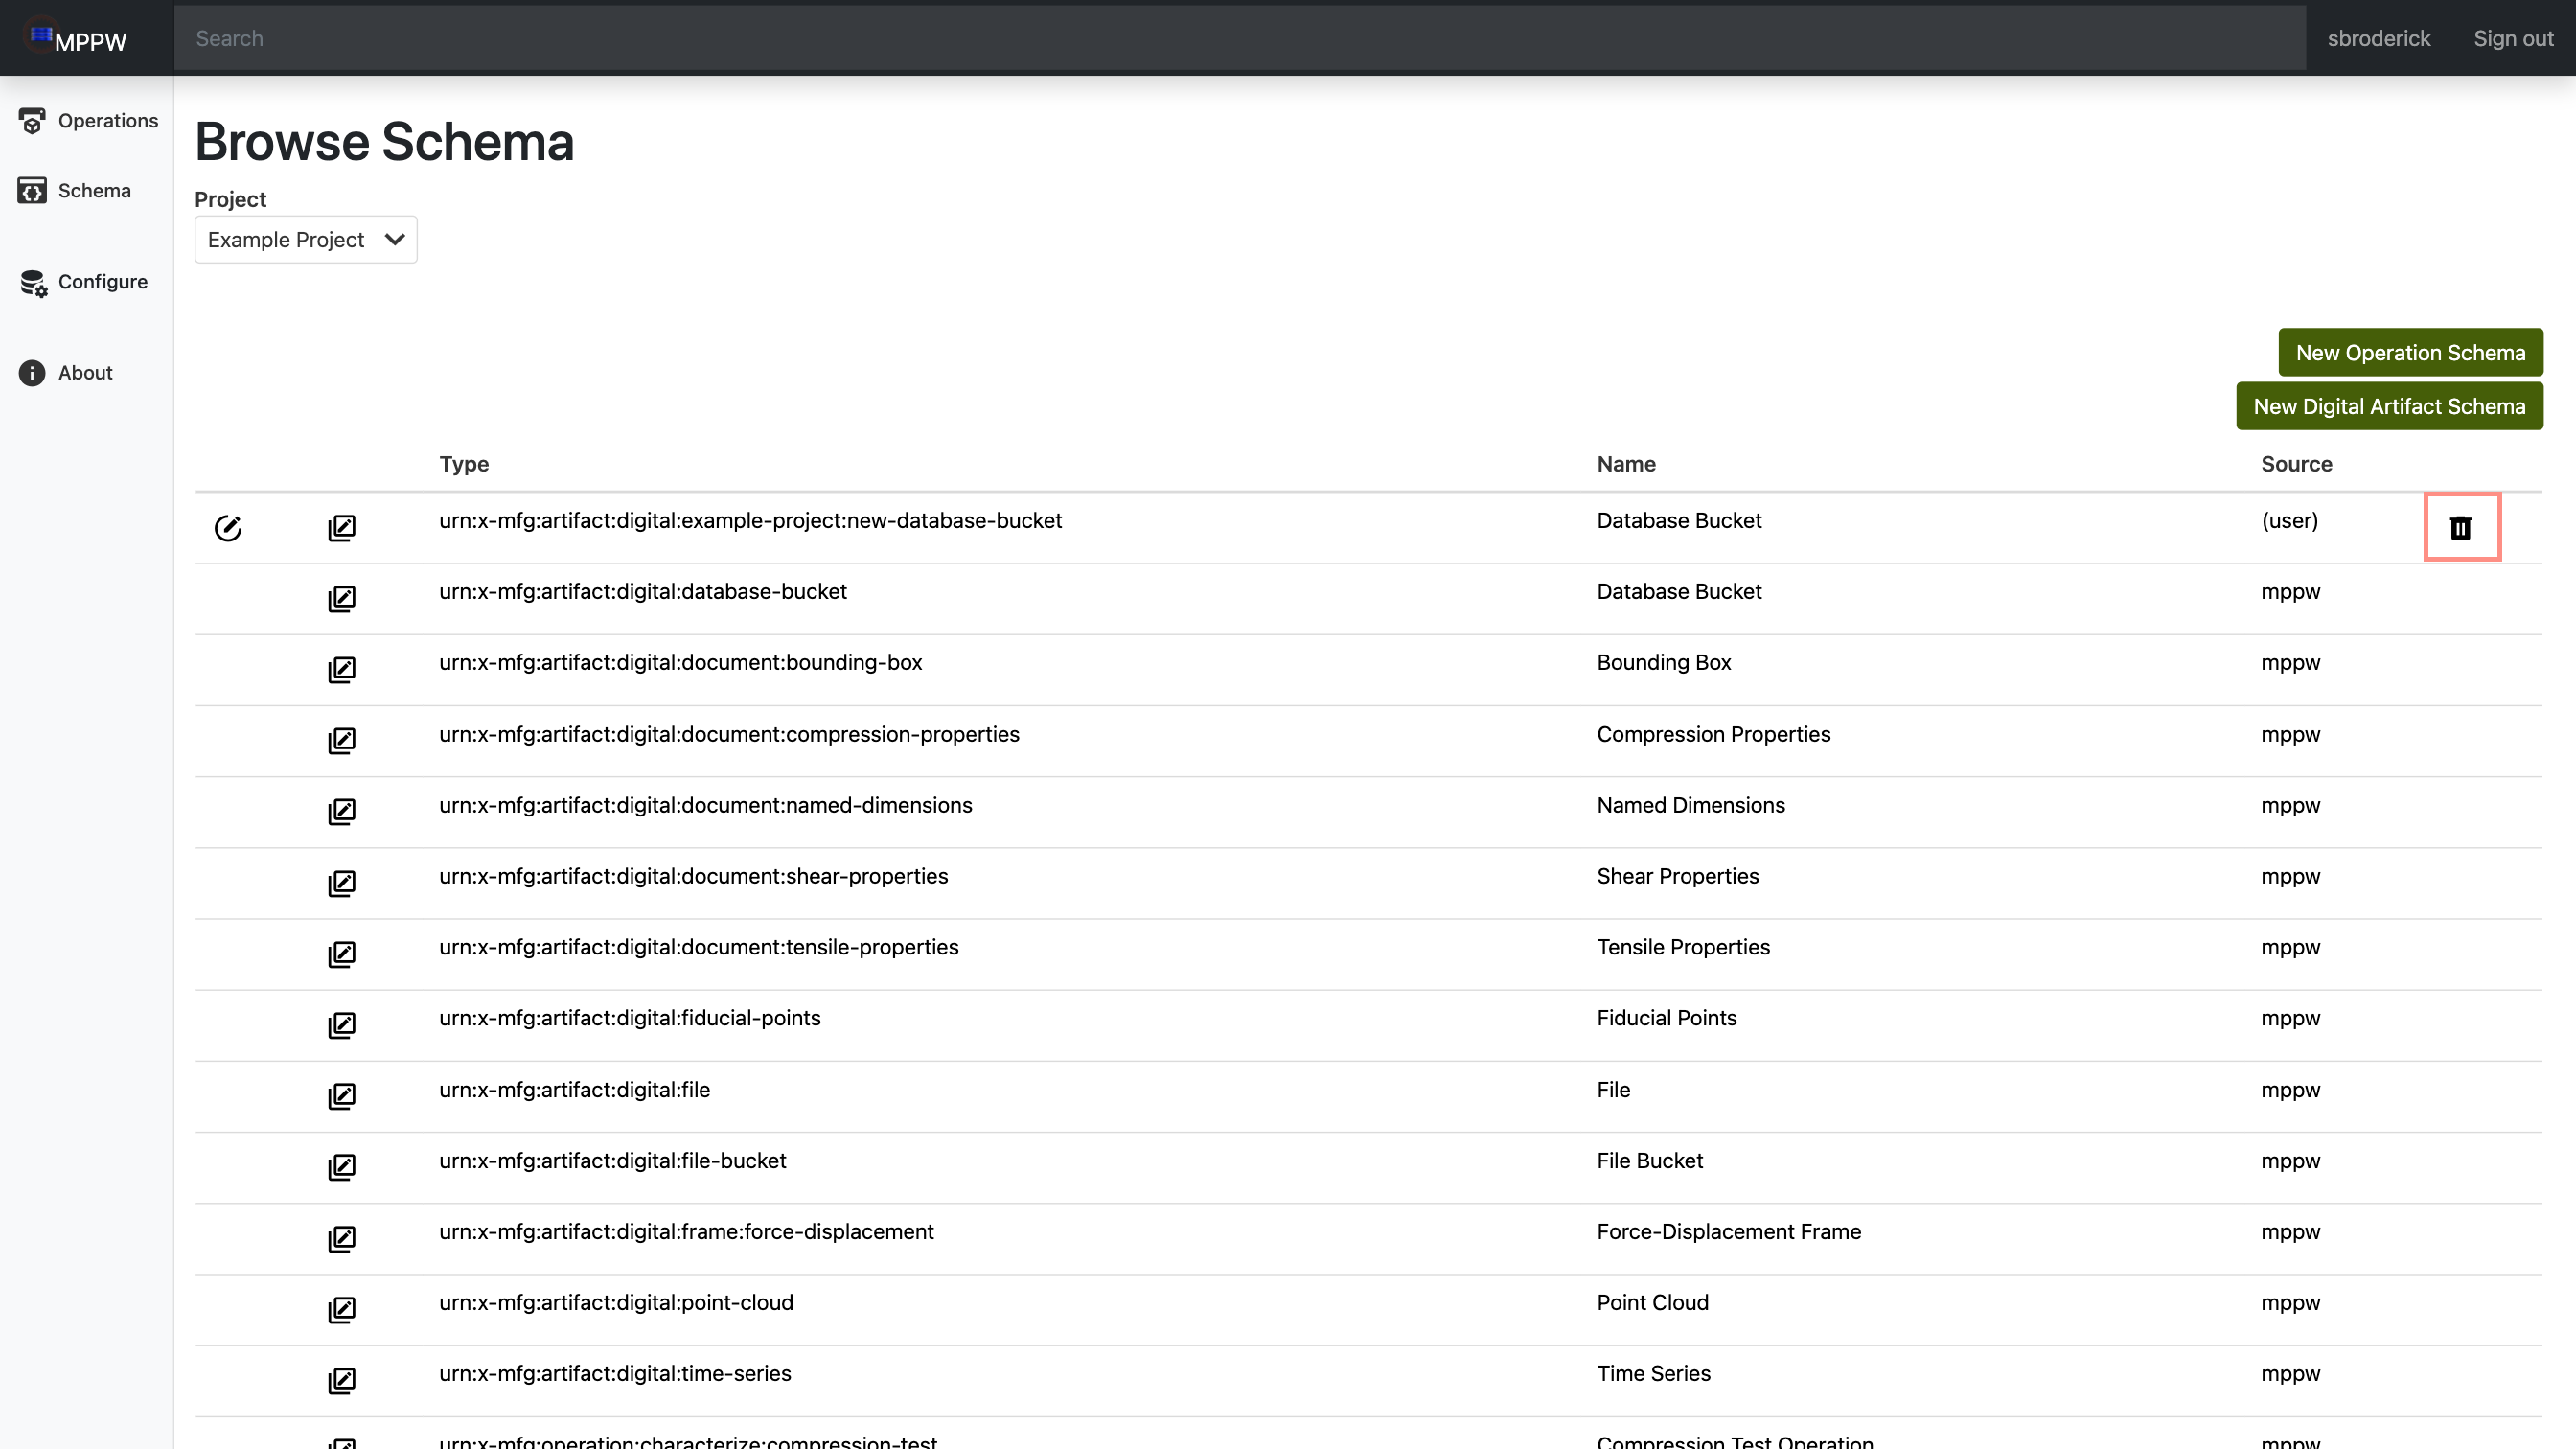
Advanced Schema Options
Coming Soon!